Quick Guide: Installing WordPress and Connecting it to the Database
Download and install MAMP. Go to https://www.mamp.info/en/windows/ and click on the "Free Download" button.
Once MAMP is installed, open the app and click on the "Webstart" button.
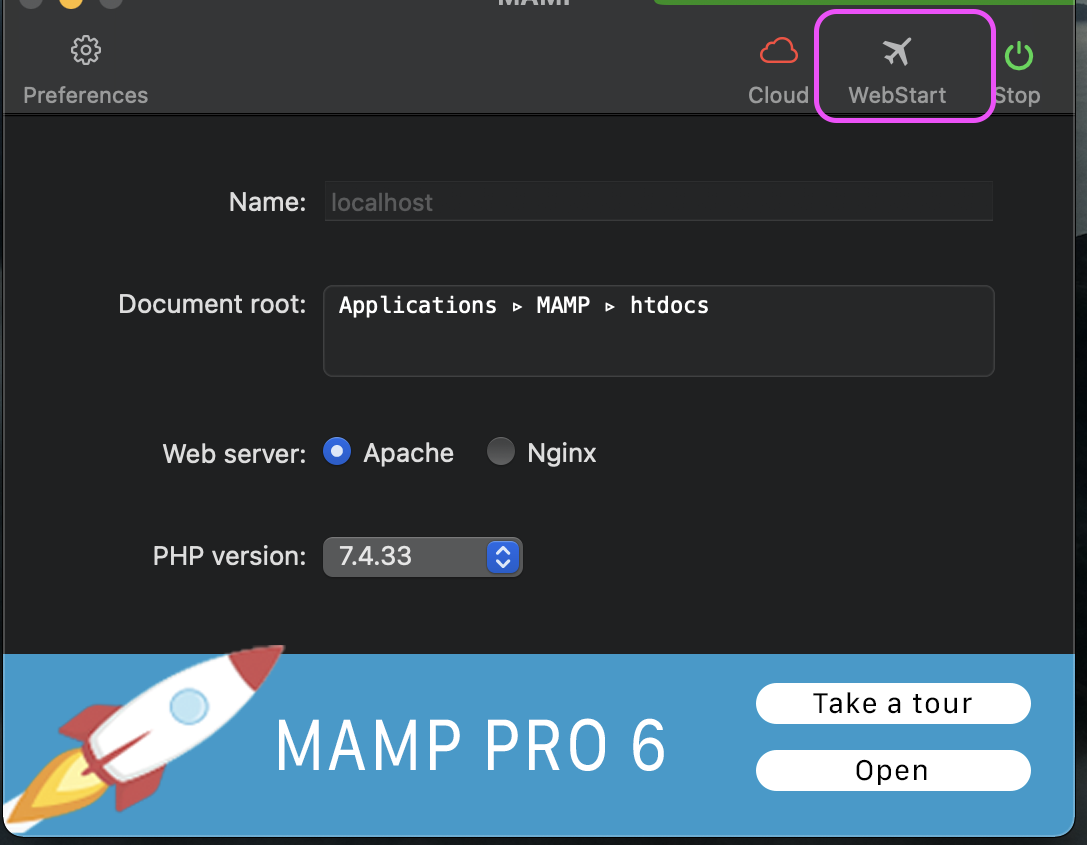
Once you have clicked on the WebStart button, a new page will appear on your screen. It is important to leave this tab open, as we will be returning to MAMP shortly. However, at this point in the process, it is necessary to install WordPress on your computer as well.
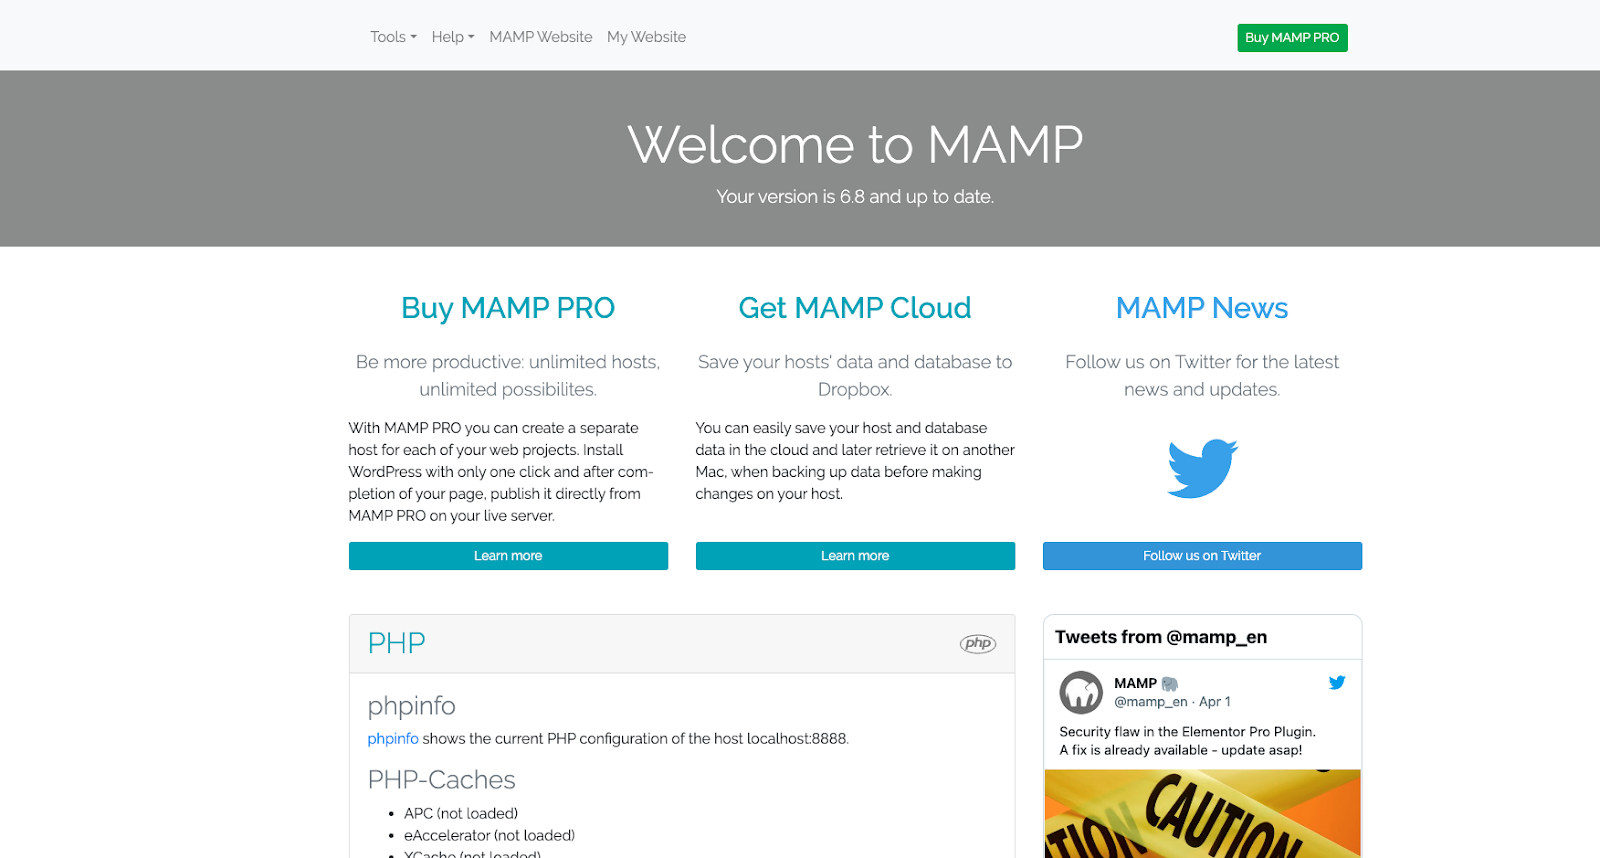
This is a new page that will appear on your screen, once you have clicked on the WebStart button.
Now, download the latest version of WordPress from https://wordpress.org/download/ and extract the files.
Move the extracted WordPress files to the "htdocs" folder inside the MAMP installation directory (usually located in C:\MAMP\htdocs). Please refer to images below for visual guidance.
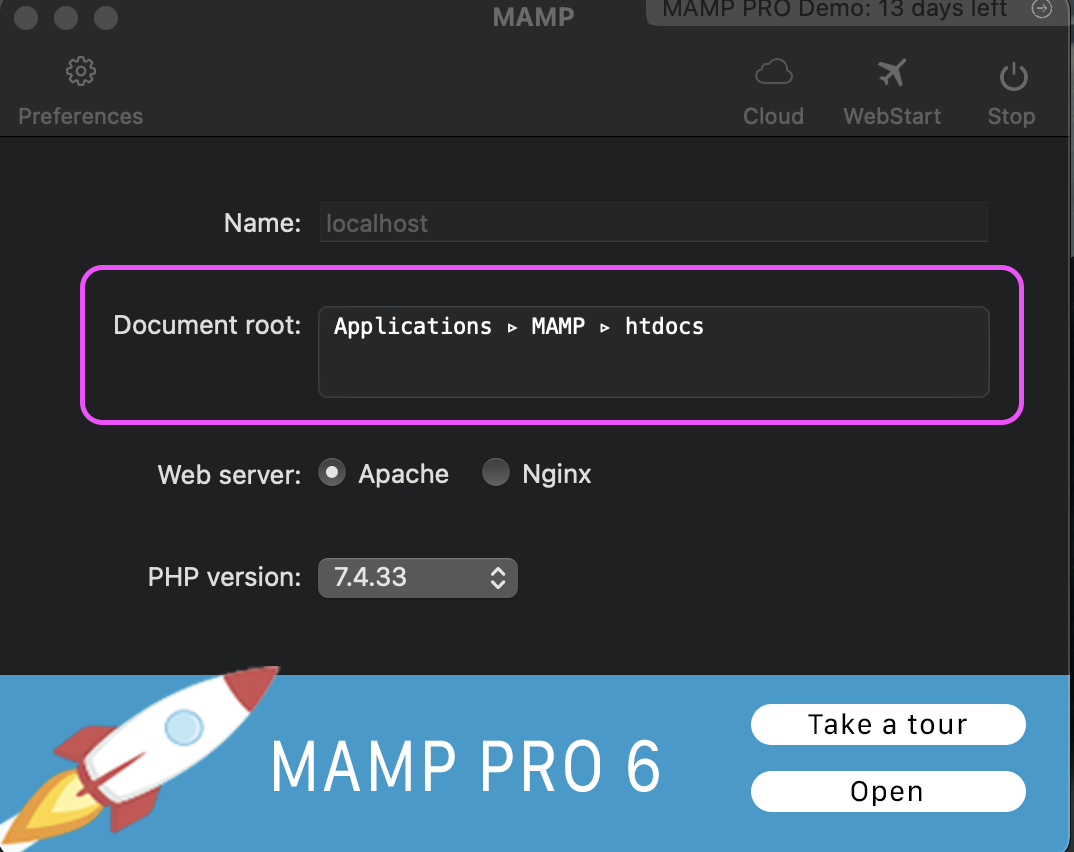
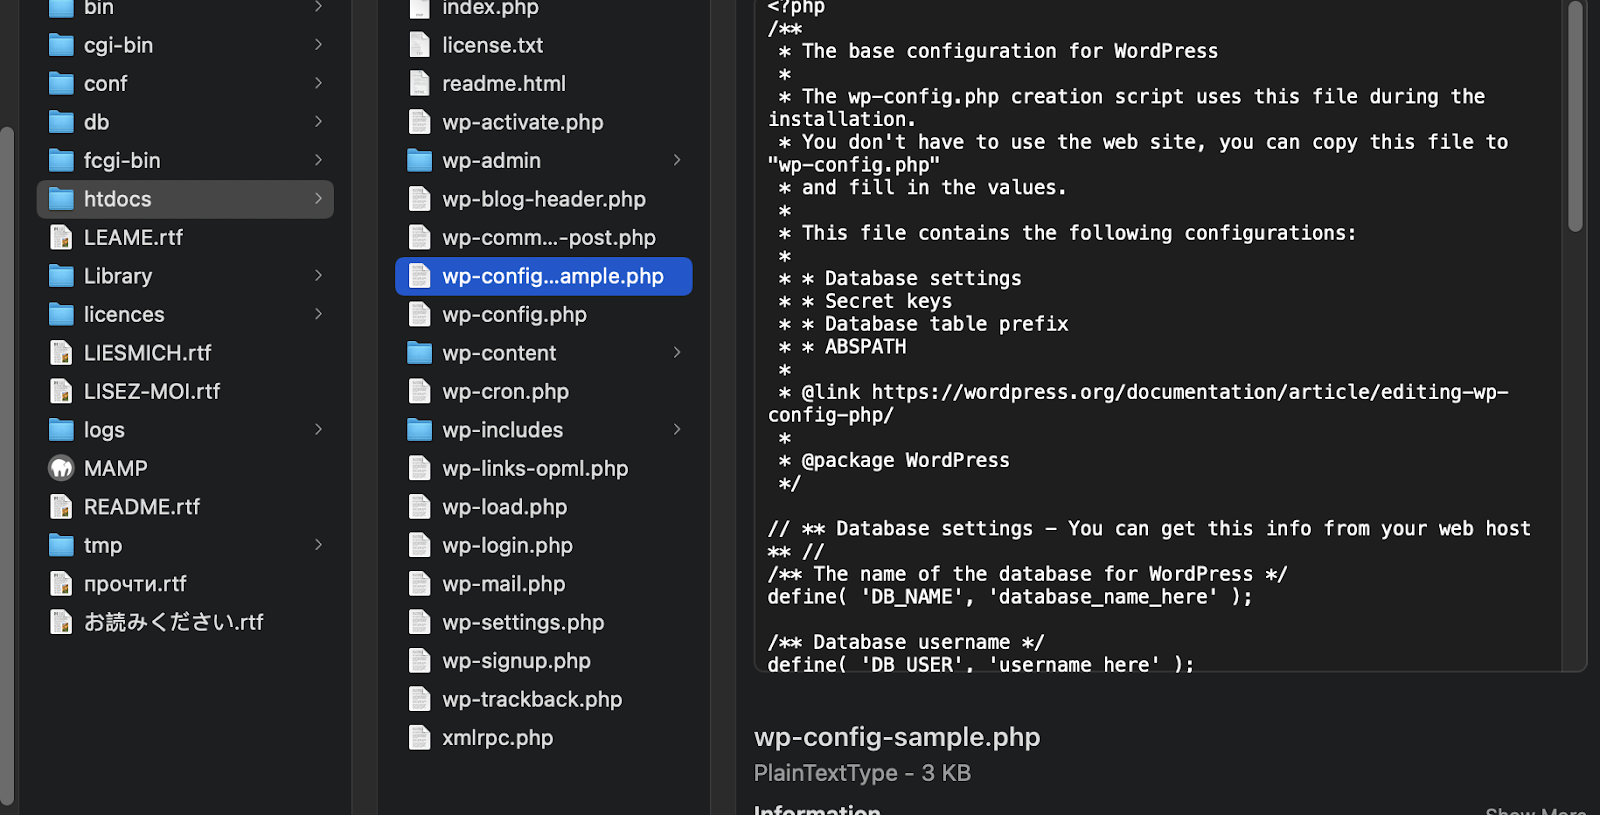
Now, Create a new database for WordPress by selecting "phpMyAdmin" from the menu on the MAMP webpage. Please refer to the image below for visual guidance.
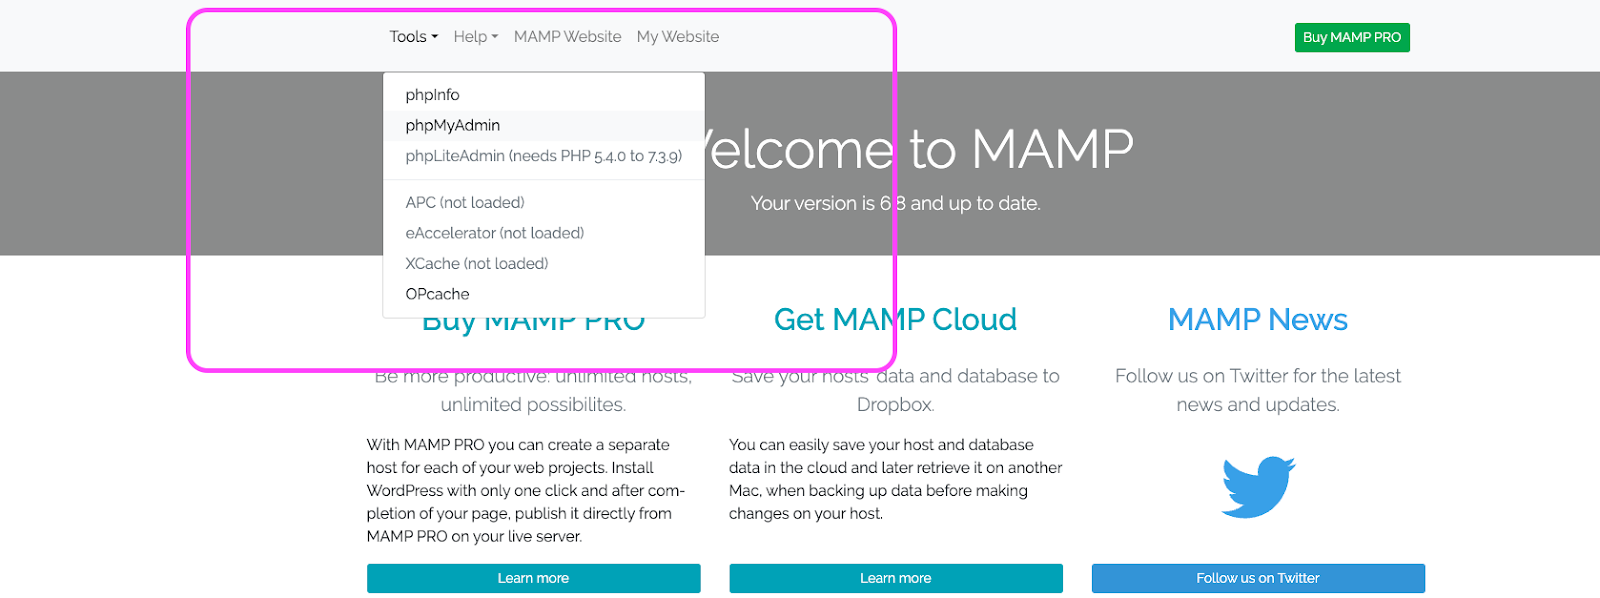
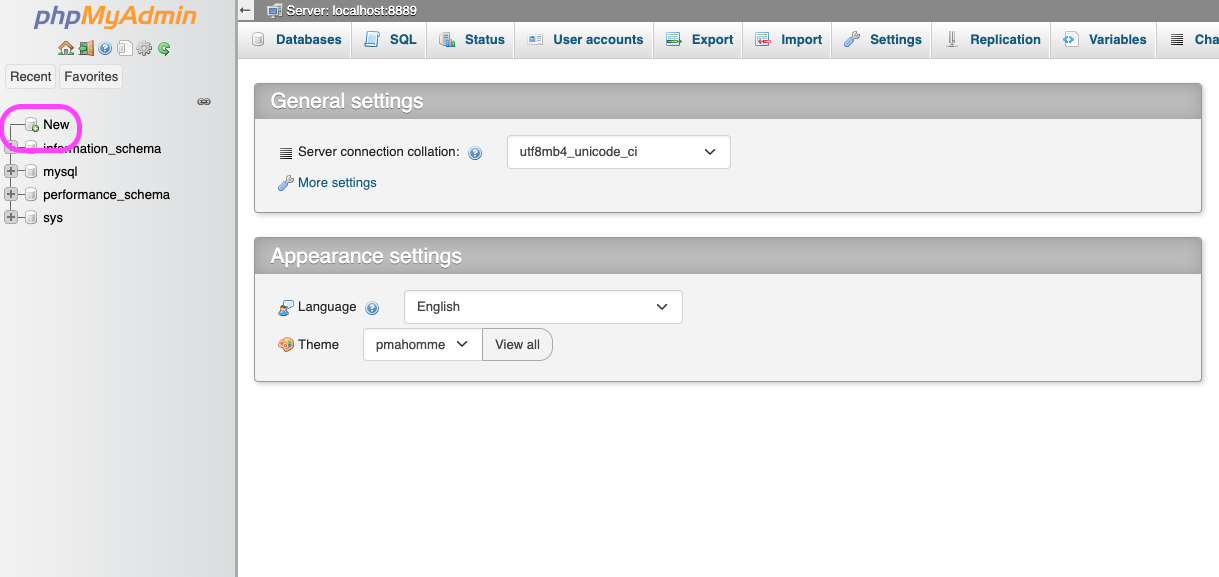
Once you click that, you will have this screen. In phpMyAdmin, click on "Databases" and then "New". Give the database a name and select "utf8_general_ci" as the collation.
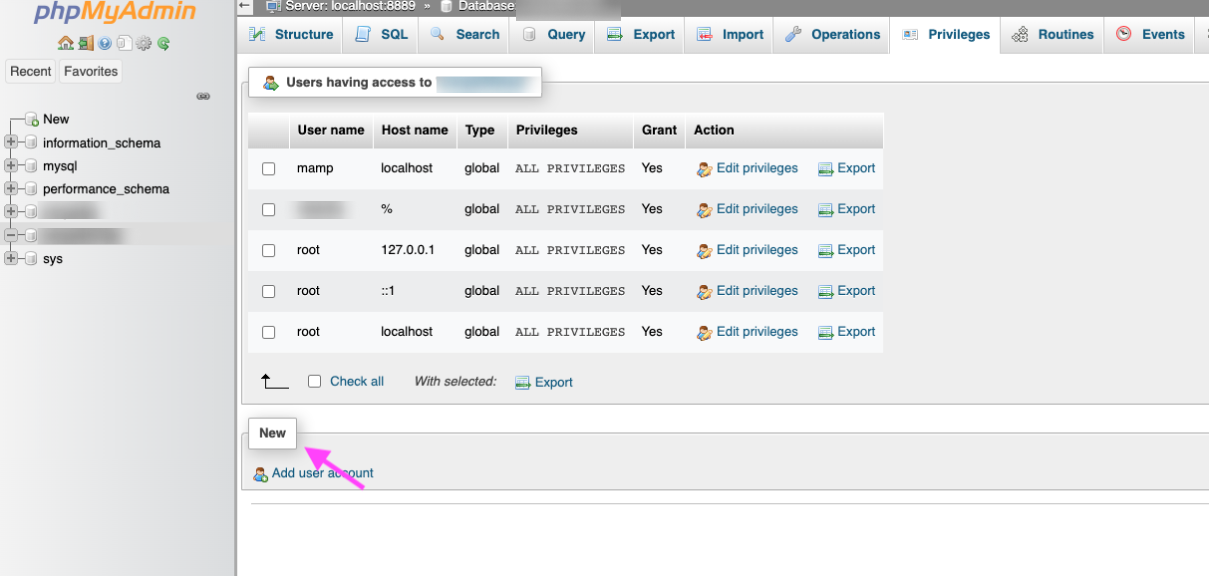
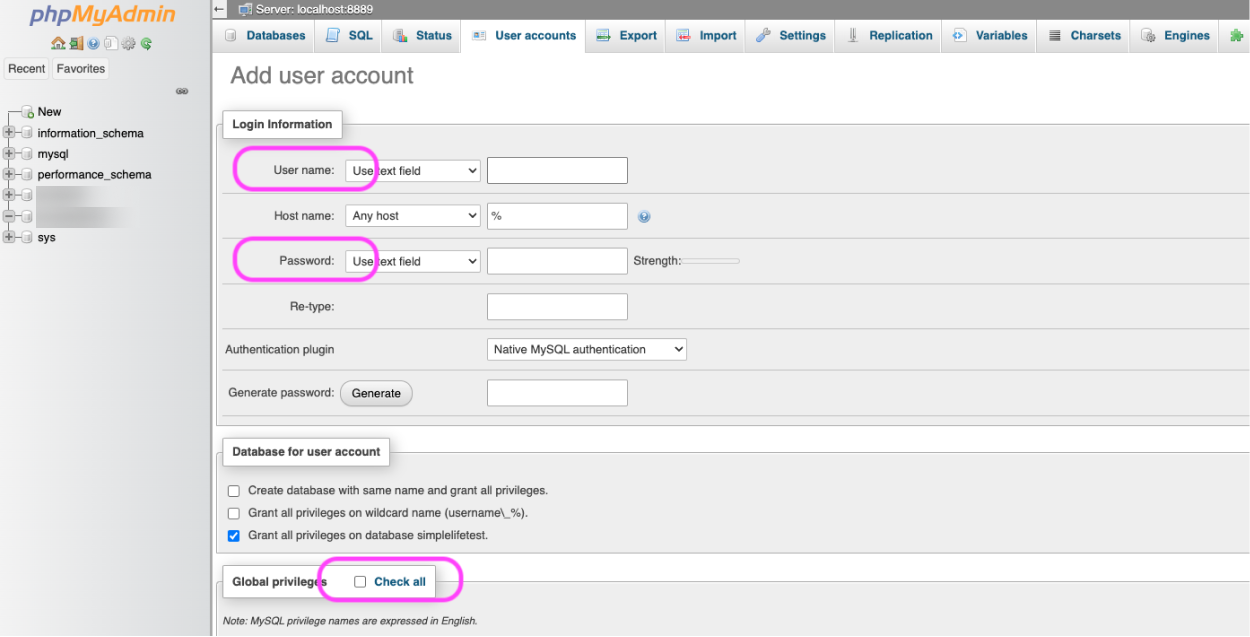
After you have created a new database you need to go to privileges tab and finish all these input fields. Please refer to the image below for visual guidance.
Open a web browser and go to http://localhost:8888/wordpress/. Follow the on-screen instructions to complete the installation process.
When prompted for database information, enter the name of the database you have along with the username "root" and the password "root" (unless you changed the defaults). Also you need to give a full access to that database owner.
Once the installation is complete, you can log in to the WordPress dashboard at http://localhost:8888/wordpress/wp-admin/ and start customizing your site!